The custom wares feature allows scripts to add new wares into the game, in the standard game there are a few free ware slots that scripts can use to add new wares, but these slots are few and limited. To overcome the limited number of wares the EMP mod, or Community Extended Mod Pack, was created. This creates a mod that adds lots of new wares into the game for use by scripts. However, these wares are also limited, as the scripter cant change any settings, ie the price, volumn, size, etc. So you just have to pick one thats close.
The Custom Wares feature improves on this and allows scripters full control over the wares allowing them to set them up how they like. When installing scripts, you dont really need to know about how the custom wares work, just how to make sure they work in your game.
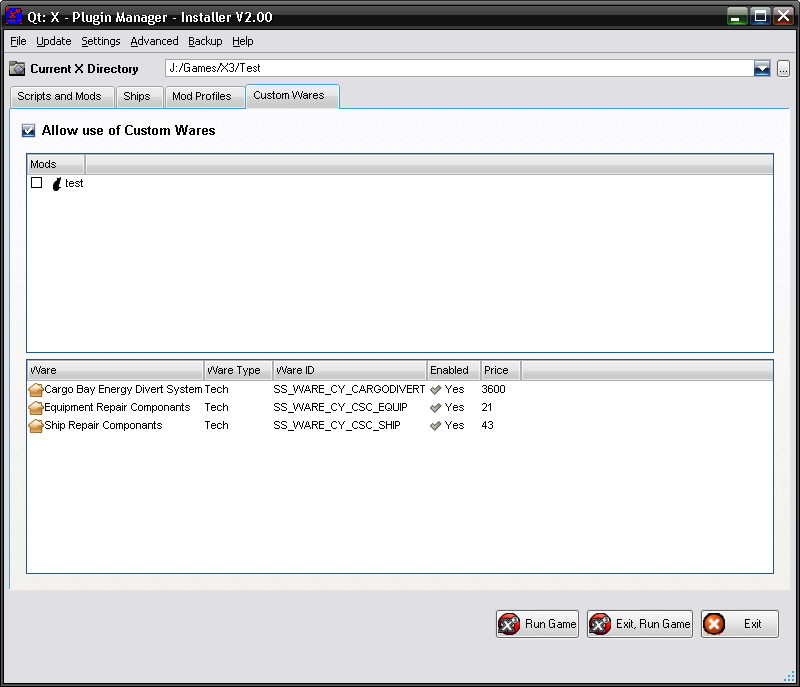
Goto the Custom Wares tab to view the current installed wares.
The option at the top "Allow use of Custom Wares" will enable or disable the Custom Wares feature. If you have any packages that use Custom Wares, they will not work correctly if this option is disabled.
The first list "Mods" displays all the mods in the current directory, selecting these will make the installer add all the ware types files into these mods as well, so if you play a game with the mod, you should select the ones that you use. Only mods that contain ware files will show up here, as they are the only ones that need the files added to them. Fake Patches do not require it.
If you use the profile system, or the Base Mod for the Plugin Manager, then the custom ware mods will automatically be loaded into these, meaning you dont need to check anything.
Finally, the list below displays all the wares current added and if they are enabled or not.